Chilli Seedlings - From the book 'Growing Chillies'

How cold will my chilli plants go?

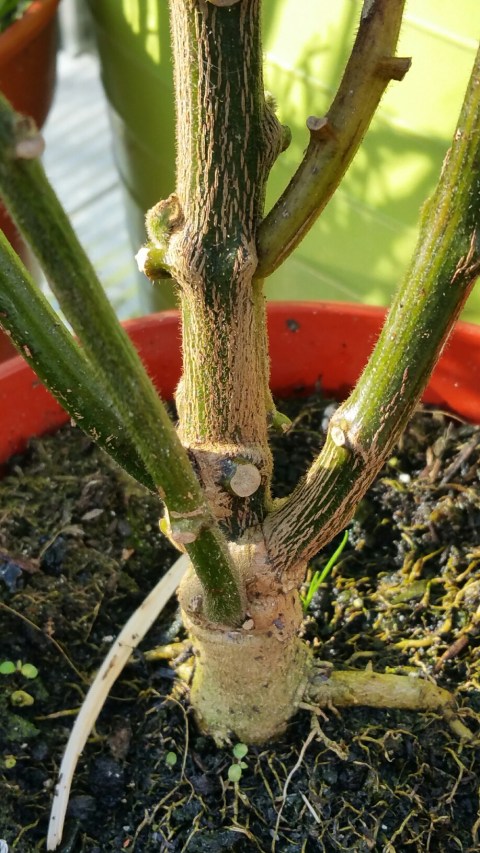
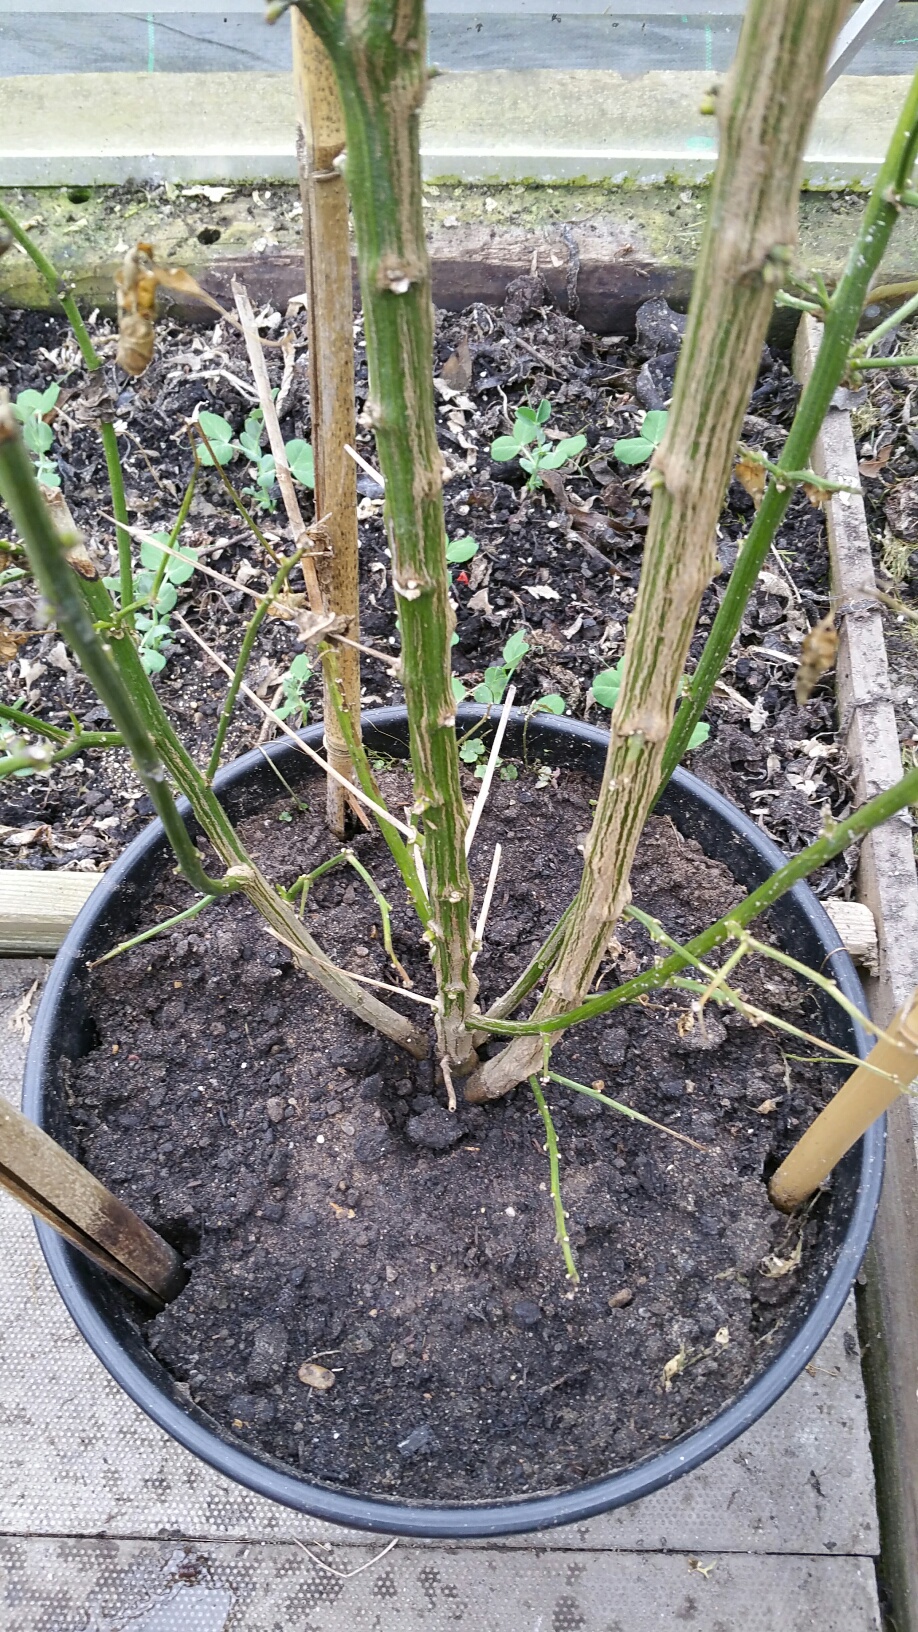
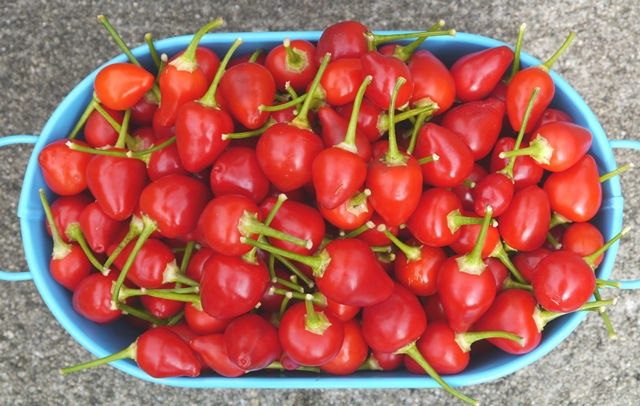
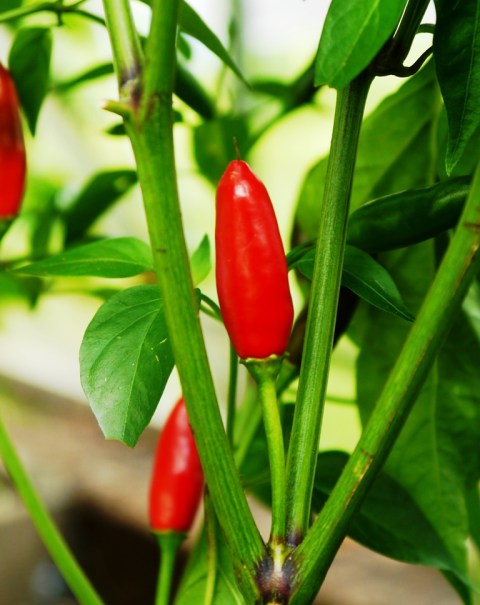
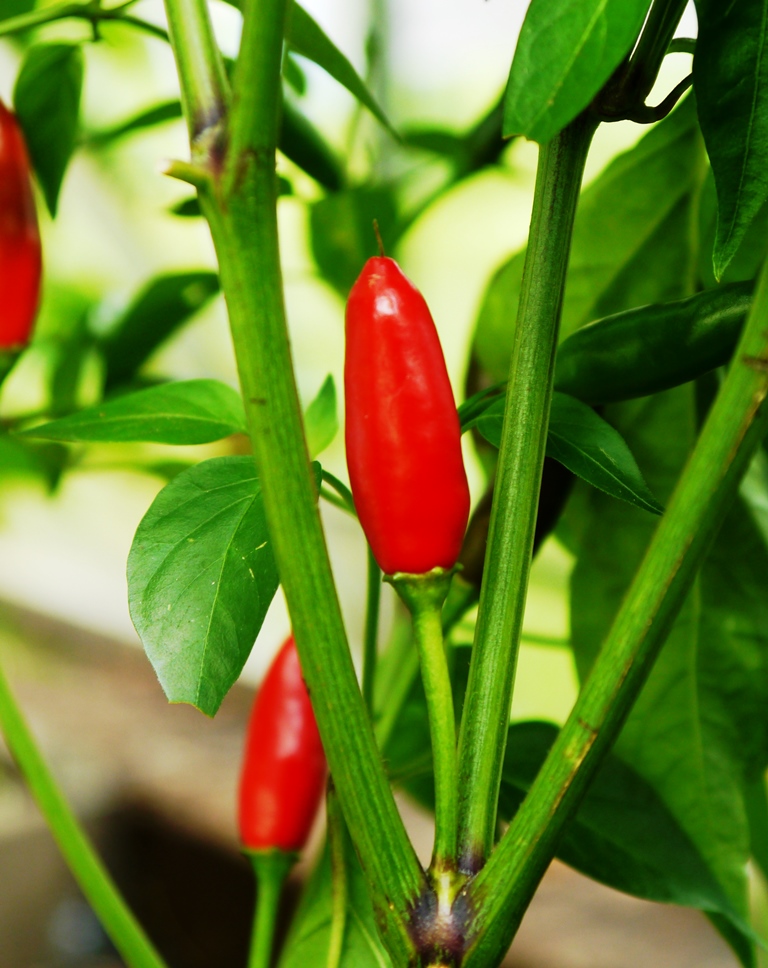
We had some unseasonably cold weather in the UK recently, and where I live near the south coast of Devon frosts at the end of April are almost unheard of. But we had some all the same, and it caused a few problems. For me it wasn’t so much the night time lows, but the general cold, when the sun wasn’t out greenhouse temperatures during the day were too cool for plants to grow quickly, so everything is behind.

There were a few touch and go nights though, and towards the end of April I had just too many plants to bring indoors, so they had to run the gauntlet of some near freezing temperatures.

The lowest my max/min thermometer read was -1°c in the greenhouse, but don’t take this as definite. Have you ever browsed the range of thermometers available in a garden centre? Have a close look, last time I bought one the readings on all the thermometers on offer ranged from 18 to 21°c, and they were all hanging from the same shelf! I bought an average one, but there is no telling how accurate it really is. I suspect the temperature didn’t quite reach as low as -1°c, or if it did it wasn’t for very long, maybe only 15 minutes before dawn.

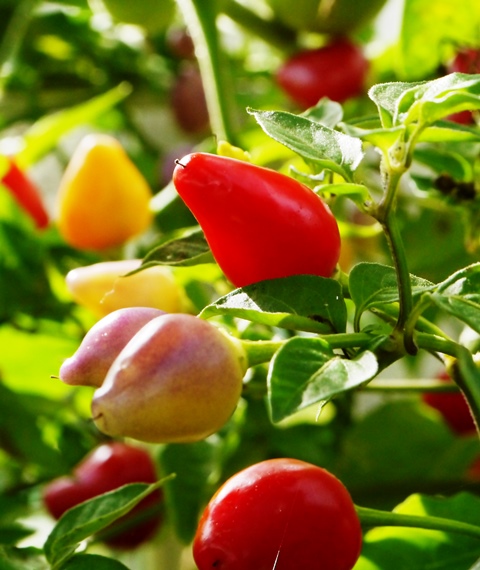
So did my plants survive? Yes, they all did, (not so the courgettes planted outside). And what does this tell us about the lowest temperatures young chilli plants can endure?

My experience tells me that as long as there is no cold wind or rain blowing directly against the plants, which means they need to be in a greenhouse not outdoors, and as long as the cold temperatures only go on for an hour or two, then the air temperature can go down to just 2 or 3°c and still recover happily, but who wants to gamble on a couple of degrees this way or that? And remember this is far from desirable, they aren’t actually growing at these temperatures, as they would if they were bottoming out at 19°c, so warmer is always better.

Another factor that can seriously jeapordise the well being of small tender plants is how quickly they warm up. Generally the soil in their posts will retain a little heat to insulate the roots. The plant might wilt slightly when it draws down fluids into the roots as a reaction against the cold. When the sun suddenly starts to warm the greenhouse then the wilting leaves can’t transpire quick enough to offset the rapidly increasing temperature and the drooping leaves shrivel. In the past I have seen chilli plants looking healthy before sun-up, but two hours later they have died. This is a particular problem where a greenhouse is sheltered from the rising sun and remains cold until later in the morning when suddenly the strong sun peeps over nearby buildings or trees and the temperature rises from nothing to 30°c in a matter of seconds, rather than a gradual warming as the sun rises. This is why instructions on constructing greenhouses always tell you to site it somewhere away from such situations.

Finally, of course, different varieties react differently, tepin, most Capsicum pubescens, (so rocoto), and many aji varieties will be slightly more tolerant than others.


8 tips on keeping your young chilli plants at the right temperature

One of the best things you can do to make sure your plants grow at optimum speed is to look after the temperature and try to give them constant warmth. In the spring time this can be difficult, but here are a few tips as to how you can do your best to keep temperatures high, and consistent.

Plants aren’t human, they don’t have feelings and moods. They are simply a load of chemicals jumbled together, and each type of plant has it’s own slightly different composition, which is why some like damp, some like dry, some like heat and some cold. High temperatures are a big part of what makes chilli plants grow, and when the temperature is right for them, they grow, and when it isn’t they don’t. Look at weeds in the hedgerows, one week nothing, next week a foot high. You want your chillies to go from an inch to a foot quickly, so let’s get the temperature right.

For optimum growth rates you should be aiming for a constant 27-31°c during the day, and slightly lower at night, say 23-26°c. At these temperatures your chilli plants will almost grow before your eyes, and maybe two or 3 times the rate of something kept at ‘room temperature’ with a bit of extra sunshine during the day.  Put simply, they will grow when the temperature is right, and stop when it isn’t, so any extra time or money you can spend on maximising this growing period will be rewarded with better results.

Chilli in black pots

  1. Firstly, and probably most importantly; remember, half the plant is roots, so soil temperature is at least as important as air temperature.
  2. A heated propagator – For germination and for young plants this is the easiest way to keep them warm. When they have germinated and are growing nicely, you can remove the lid and the warm tray will continue to keep the roots warm.
  3. Soil warming cable – For a larger number of plants, and if you can afford the luxury, then this is the best way of optimising soil temperatures to grow your plants as quickly as possible. It means you need a big sunny window if not a lovely greenhouse, with a big tray or specially constructed bench, a purpose bought warming cable, some insulation and some sand or inert substrate. Then you can thermostatically control the temperature of the roots of your plants accurately.
  4. Let sunshine get to the pot – When sunshine is hard to come by arrange your pots so they get the maximum benefit. If they are in a position where the side of the pot is exposed to direct sunlight, then the warming effects of the sun will mean the pot and therefore the roots are warmer than the surrounding air.
  5. Use black pots rather than the traditional red ones. These are often cheaper and they absorb the heat of the sun more.
  6. Bigger pots – there is no harm in potting small seedlings straight into their final big pots, the big volume of soil acts as a heat sink to keep roots warm long after the sun has disappeared. It also stops the big temperature fluctuations that small pots suffer from. Beware – if big pots are kept in a cold place and never get a chance to warm up, then the opposite will happen.
  7. Move them around! – The simplest job is sometimes the hardest as it involves time and effort. Put them in the greenhouse or the sunny window during the day and move them into a warm room at night. The more you keep them at their optimum temperature, the more time they will spend growing.
  8. Hydroponics – This is a more expensive alternative than traditional pot growing, but once you have made the initial investment of time and money the rewards will be higher with quicker growing plants, bigger plants and ultimately more chillies. Depending on your setup, the root temperature, and possibly that of the whole plant, are thermostatically controlled. Top this with the perfect nutrient mix and you will be way ahead of the competition.

Remember there is more to it than just heat, you need to juggle all of these tips with lots of lovely bright light too.


Overwintering Chilli Plants – Some practical examples

The overwintering of chilli plants, in temperate areas anyway, is probably the most variable and uncertain part of chilli growing. The most detailed advice is, at best, to be taken with a pinch of salt as there are so many more variables to think about when you compare overwintering with, say, germination. How warm is the autumn? how cold is the winter? where are they kept? what variety? How long are the daylight hours?

So rather than dispensing general advice, which I, and many others have done before, I will illustrate some practical examples of what has happened to some of my experimental plants this winter. For a little bit about what happened to some of my plants back in the autumn you can link to the blog entry ‘When Will My Chilli Plants Die?’.

Where I live near the coast of  south Devon in the UK, we have had what is, so far, undoubtedly the mildest winter ever, so I still have a few plants that would not normally survive. This is as good as it gets, and things haven’t been great, so this illustrates the general advice that you should bring any plants that you want to keep into the house where they stand a very good chance of survival. The hardier of my plants were busy fruiting in my greenhouse until Christmas. Up until that point we had only two mornings when there was frost on the ground, and even then the greenhouse temperature only dropped to 3c. Often temperatures were 15 or 16°C and not far of that at night times. It was really really dull and wet though, so I wasn’t hopeful for some plants that I left outside.

Through January temperatures were still warm, and it is only in the last couple of weeks that we have had consistently lower temperatures, but still the greenhouse hasn’t dropped to lower than 1°C.

Despite the warm early winter I am still not surprised to see that most of the plants I tried to overwinter in the greenhouse or outside are looking doomed. There are a few which will survive, but 4 months of short days and just a couple of months of cool temperatures have still mounted up so that only the real hardy ones will live on.


Rocoto, overwintered in cool greenhouse

Rocoto, overwintered in cool greenhouse, pretty good.

I had little doubt that this rocoto would survive, they are pretty hardy and this one wasn’t pruned back till January, and at the end of February it is still looking nice and green. It is in a smallish pot in the greenhouse.


Rocoto overwintered in vegetable patch. Very dead!

This rocoto, above, wasn’t as lucky. It was very much an experiment, it grew well outside in a vegetable patch protected by climbing beans all around, but the wet soil and a battering by the wind means it is unlikely to shoot out again this year.


Rocoto overwintered outdoors in pot,

Rocoto overwintered outdoors in pot.

This 3rd rocoto was overwintered outside the greenhouse in a large pot, it is looking pretty good, the stems all nice and green, the soil drains easily and I hope it will shoot out in the spring. I will move it into a greenhouse to give it a kick start.

Rocotos are generally one of the safest bets when it comes to overwintering. The others that do well are the baccatums, ajis, and some of these have done OK in the greenhouse.


Aji in greenhouse

Aji. overwintered in greenhouse

Aji. overwintered in greenhouse

The botton aji limon is looking green and healthy, but the one above is dead at the main stem, so I am not hopeful for this one, I think the main stem will rot down and cause the plant to die.

Piri piri, overwintered, good and healthy.

Piri piri, overwintered, good and healthy.

Finally, this is one of my old faithful piri piri plants. This is its second winter, it will stand colder than anything thrown at it so far and I am confident it will do well again this year. The stems are still green up to about 1m high and I have only pruned the straggly small stems to keep it in shape. It is in a big pot, which keeps the roots insulated against sudden drops in temperature, and it is under glass.

I started off hanging on to other plants, either to see which was the first to go, or to test out some new ones. I have never overwintered Carolina reaper before, so I tried that. In the house is OK, but a couple in the greenhouse died back quite quickly. Likewise various annuums they didn’t do well in the greenhouse either and are already in the bin. I wouldn’t normally try keeping these anyway, things like jalapenos don’t perform as well in their second year as newly seeded ones, but as October and November were so mild I hung onto a few.

This last one was an annuum that I did secretly hope would survive, as it would have been great to see it shoot out early. It is a pimento de Padron, and was nearly 2m high in a greenhouse bed, but I’m not sure if it will grow again, watch this space.

Pimiento de Padron overwintered in a greenhouse bed

Pimiento de Padron overwintered in a greenhouse bed


Chilli Seeds

How long does it take for chilli seeds to germinate?

This is one of the most common questions novice growers ask; rarely are the answers detailed enough, and often they are misleading. The most common problem is when seed merchants give a very broad ballpark estimate of 2-6 weeks or something similar, covering their backs for any eventuality thereby mismanaging peoples expectations.

The reality is that most chilli seeds should germinate within 14 days, some of them much sooner. The quickest I have ever found are senor serrano, a modern commercial variety of serrano, in good conditions they will be emerging within 4 days. A lot of commercial jalapeno varieties aren’t far behind this, and I’d say the average is around 10 days across the board if conditions are perfect.

Chilli Seeds

The exceptions are often the super hot things, especially bhut jolokia and nagas, they are very erratic and often take longer, but again there are instances where they will pop up within 10 days or so, though this is less likely as they are more particular about moisture and temperature and it is more difficult to get things spot on. The more recent super hots, like Trinidad scorpions and Carolina reapers are less fussy.

The other exceptions, according to my non scientific experimentation is anything brown, by which I mean chocolate habanero, mulato, pasilla etc. There are many times where I deliberately set these to germinate next door to each other, or even in the same pot, and they have under-performed when compared to their standard relatives, e.g. mulato v ancho, or chocolate habanero v orange habanero. This is strange as ancho and habanero aren’t even the same species, but maybe the genetic variation that causes brown-ness also weakens germination, not for me to say without some proper tests.

Notwithstanding a dubious seed supply, or seed which has been poorly stored, if your seeds aren’t as quick as I have suggested above, then there is likely to be a problem with the way you are germinating them. Don’t despair, things will still happen, but be aware that your conditions probably aren’t perfect, so next time try something a bit different. You might have to buy a book to get all the details on what to do and what not to do :), at least now you know what you are aiming for.

Barra do Ribiero

This is a new one for me, this year is the first time I have grown it, but I’m really pleased. It is a Capsicum baccatum from Brazil so I assume it originates from the area of the same name. In appearance the plant looks very much like the more common aji limo/limon varieties with long bendy tough stems and small leaves. In a reasonable sized pot the plant grows to about 45cm high, and at least that in width once the fruit starts to weigh down the stems.

Barra do Ribiero, Brazillian chilli pepper

The taste is similar to an aji limon, sharp and citrussy, but the difference with this one is that the fruit is very fleshy and juicy, more reminiscent of a miniature rocoto. Although the whole thing is pretty hot, I’d say about 40,ooo SHU, you can easily slice off a piece of flesh for juicy munch without getting any heat at all. For this reason I think it is going to make a delicious sauce, the flesh should break down easily and you can control the heat by taking out the bitty seeds.

On top of this, Barra do Ribiero is beautiful to look at, each one is a firm and glossy heart shape. they start yellow, then go through a part purple stage before ripening to red. The first few I picked in early September, but the bulk weren’t ready till the end of that month,

Barra do Ribiero bowl 4 web

This was an easy one to grow, like most Capsicum baccatum varieties it is tough and resilient, I’d say it will toddle on into the winter in my greenhouse, still producing slowly, and should overwinter well. The seeds germinated easily, they came from Nicky’s Nursery. I have a good crop from 4 plants, and I’m going to have a go at everything with them, some I have dried, slicing them open first. Some I have frozen, and some I will make sauce with.

Barra do Ribiero Sliced close web

Chilhuacle Negro Chilli

Chilhuacle Negro

This unusual chilli, the chilhuacle negro, deserves a page of its own. It is a favourite of mine for a number of reasons; firstly its strange soft, brown, leathery feel is fairly unique, and secondly it looks quite spectacular when growing because of the shape of the plant.

Chilhuacle Negro Chillies

The fruits are about 4-5 cm cubed and ripen from green to brown, but they never firm up to that glossy, crunchy state that you would normally expect of a chilli. Instead they remain pliant and leathery with dull skin, as though they have been left on the plant too long and have started to dry out.

Chilhuacle Negro Sliced

Chilhuacle Negro Sliced

Linked to these characteristics is the ease with which they can be dried, in fact they already feel like half the job of drying is done before you pick them. They are naturally low in moisture, and with the matt skin, to completely dry them out is much easier compared to many other chillies.

Chilhuacle negro originate from the Oaxaca region of Mexico and are traditionally used dried, in a mole negro. They impart ‘dark flavours’, chocolate, tobacco and tannin and they aren’t that hot, maybe 2-3000 SHU, so you can safely use enough to make the most of these flavours without overdoing the heat.

Chilhuacle Negro Chilli

Chilhuacle Negro Chilli

The plants, which grow to about 45 cm x 45 cm make quite a spectacle, and become laden with fruit, but remain compact. The stems branch frequently, with short inter-nodal length and quite unusually the stems can grow downwards, not bending over, but actually branching with strong stems growing down beneath the top of the pot. This gives the plant the appearance of a mesh globe, which, when combined with lots of brown fruit becomes quite decorative.

Chilhuacle Negro Plant Above Web

Chilhuacle Negro On Plant

If you want to have a go at growing them you can get seeds in the UK from Nicky’s Nursery they are quite hard to come by otherwise. They germinate quite well, as I have often found, with no scientific evidence at all, that many brown chillies are more erratic than their red counterparts (chocolate habs, ancho mulato for example). Once the seeds have germinated the fruit take around 16 weeks to mature to brown and they are always eager to keep producing into the autumn.

One thing I found this year, and I mentioned this in a previous blog, https://growingchilliesbook.wordpress.com/2015/06/23/the-order-of-greenfly/ is that they seem to have attracted greenfly where other plants around them did not. There were a few chilhuacle negro plants scattered randomly around the greenhouse, and yet they all seemed to get infected where the neighbours remained greenfly-free. The early greenfly which noshed into the flower parts before I noticed them, caused a lot of the first fruit to be quite deformed. Maybe this is partly due to the strange dry and leathery nature of the chilhuacle negro fruit, but some of the affected ones not only divided, but the skins split open so you could see the seeds inside. Needless to say I had to pick these and discard them as soon as they started to grow to make way for some healthy un-greenflied fruit.

Exploding Cucumber on Vine

Exploding Cucumbers! (Cyclanthera explodens)

I don’t normally bother too much with Latin names, but it is important here as there are two plants that are known by the name ‘exploding cucumber’, one, Cyclanthera explodens, the edible one which we will look at today, then there is the poisonous one, which you definitely shouldn’t eat, also know as the squirting cucumber, Latin name Ecballium elaterium. The first one fires its seeds out dry like shrapnel, the second one squirts them out in a gooey stream like a, well, like say a water pistol.

Exploding Cucumber on Vine

Exploding Cucumber on Vine

Both of these are dangerous in their own way. The first one is poisonous and inedible but the edible one I have been growing comes with a health warning which I must admit I didn’t pay much heed to. I thought it might be a bit of a sales gimmick. Not so, I was poking around in a bowl of these which had been sat on the side for a couple of days and BAM! there was a pop, and one of them ripped itself open and threw seeds across the room, probably 3 or 4m.

These are another example of my addiction to growing odd things, not just odd chillies, but odd cucumbers, tomatoes, herbs etc. etc. I always seek out the unusual, and always shun vegetables with names like ‘Bountymore’ ‘Harvest King’, ‘Moneymaker’ and the like, mostly these are going to be prolific, quick, but correspondingly bland.

The seeds came from realseeds.co.uk They are weird flat things with rough edges. I started them in late March (in the southern UK), they germinated well and grew quite quickly in the greenhouse. I needed the space so I planted them outside in a sheltered spot thinking it might be a bit too early for them, but no, they flourished.

Exploding Cucumber - Cyclanthera explodens

Exploding Cucumber – Cyclanthera explodens


Very quickly they spread, more than I thought they would. In fact I have had to cut them back quite ruthlessly, otherwise the two plants would take over the garden. They have probably spread about 10 feet in every direction, and there is still quite a lot of growing time left (as of 6th August). They were starting to strangle some beans, some ‘normal’ cucumbers, a tomato plant and a big rocoto chilli, and they are marching through some crocosmia to a flower bed.

That said, this isn’t really a complaining, they are a food plant, and a bountiful one, so it is my fault for not giving them enough space to flourish properly. Next year I will do better.

Bowl of Exploding Cucumbers

Bowl of Exploding Cucumbers

For those that fancy a go at these, I would say that in their habit, they are more like mouse melons (cuca melons, Mexican gherkins, etc. etc. the ones James Wong loves to grow), so treat them the same. I think they are a bit more edible though, you pick them young, and chop them in two or 3 pieces straight into salads. I find mouse melons a little tough and sharp if you don’t get them early. These are quite happy outdoors once they have been given a warm start, in fact you would be mad to let them take over your greenhouse unless you had unlimited space.

WARNING (and this is no joke). If you leave them to grow to their full size (about 3cm, or just over an inch), then they can and will explode black seeds at you from a long way off, and so fast that you won’t see them and they will get in your eyes. So the warning I took with a pinch of salt definitely stands. Pick them quick and do it wearing glasses or goggles.

Exploding Cucumbers

Exploding Cucumbers

Piri Piri

My Giant Piri Piri Plant

I have a soft spot for my Piri Piri plants.  I don’t grow everything every year, I  rotate other plants around and If I have a freezer full of something I might miss a year. It gives me a chance to try new varieties and keeps me interested but I will always have my Piri Piri. Partly this is because they are just the best for overwintering, and partly because they crop so amazingly in the second year.

Nobody sells the seed, my seeds come from my mother’s ‘mother plant’. She first collected the seeds about 20 years ago from a garden in Portugal, and has kept them growing ever since, she has a plant about 15 years old, though I have to say it is a bit ropy now. Because she keeps this one growing, and doesn’t grow anything else so the seed she collects is always true. If anyone wants seeds for a plant like mine I can give them some of hers.

As far as I’m concerned this is THE Piri Piri. There are lots of other chillies that look slightly different all over Africa (chillies were taken to Africa from South America by the Portuguese) that are given this name, but that is simply the name they give to a small hot red chilli, so while the name is the same, the chilli might vary. This is made worse by the fact that where chillies are grown for Piri Piri sauce, they tend to choose something that is quick growing and prolific, then brand it with the Piri Piri name afterwards.

Anyway, back to my plant, the one below is now 5ft (1.5m) tall, and it will get bigger by the end of this year. It is a second year overwintered plant, last year it got to about 4ft (1.2m).

Piri Piri Plant

My 5ft Piri Piri Plant


These are great for overwintering. They are much more tolerant to cold temperatures than most capsicums, they will die back to stems, but this spent a few months last winter in a cool greenhouse with temperatures down to 0°c on a couple of nights. Last winter was a very mild one though (South Devon). Normally I wouldn’t expect plants to survive in the greenhouse, and nothing else that I left in there did.

Also, if frost hits in the autumn this one will survive where others don’t. According to my experiments nothing else will out-survive it apart from the tepin or Chiltepin, which are even more hardy, but pretty useless as a fruiting plant. This one pays dividends everywhere.

Piri Piri Flower

Piri Piri Flower

After winter it lays dormant for longer compared to other types. When I keep other plants they tend to start shooting out very soon after midwinter, and by early February they are shooting nicely. Not with this Piri Piri; maybe because the stems are quite woody, and it is a slow growing plant anyway,  you have to have faith and wait a bit longer, but it will catch up and still fruit earlier than first-year plants.

the chillies you pick will be pretty hot, I recon about 80-100,000 SHU, and off a big plant like this one I am expecting hundreds of them. They will be used for everything, dried, powdered, sauced and pickled.

Piri Piri Green

Piri Piri Green


Piri Piri

Piri Piri


Hoverfly laying eggs on a chilli plant

Hoverflies, Predators of Greenfly

The most commonly talked about predator of greenfly is ladybirds, you can buy them online, or collect them from around the garden, often on stinging nettles, which are themselves riddled with greenfly.

Just as effective, and just as common, if not more so, are hoverflies. The flies themselves usually feed off of plant nectar, but the larvae of many hoverfly species feed on greenfly along with other aphids, thrips and any other small insect they can get their teeth into.

I have a few more greenfly than usual in the greenhouse this year, but today I noticed that the battle has turned against them. I have left the doors wide open in the last few days in the hope that some predators might come in, even at night, which means I risk moths coming in, and that means caterpillars. Sometimes the line between good and bad is a fine one.

I discovered a new way of finding greenfly, just watch where the hover flies go. I have never watched them this closely before.

Update – For a bit more on greenfly detection have a look at this later blog entry.

Hoverfly laying eggs on a chilli plant

Hoverfly on chilli plant

This chappy (chappess actually) hovered around the plants from shoot to shoot, only stopping at the ones which had greenfly in the tips.Here you can see her sucking on a leaf, maybe one that is covered with the sweet sticky dew that the greenfly exude, this is also the stuff that ants love. I couldn’t get a picture of her next move, which was to reach in with her back end and lay an egg among the greenfly. One egg laid, then on to the next shoot. Only the shoots with a greenfly benefited from an egg, so hopefully in a day or two a tiny larvae will emerge on each and start munching. They grow quite quickly so in a few days I will have a picture of one. Watch this space.

Greenfly on Chilli Flower

Hidden Greenfly Damage

Most people know the common reasons why we shouldn’t let greenfly run amok over our chilli plants, they suck it dry of sap and nutrients and they spread disease. One other big problem with greenfly is that they ruin fruit. Malformed fruit is a fairly common problem on chillies and other factors come into play such as environmental conditions, genetics, and diseases, but problems resulting from greenfly damage are often not credited as such because they occur long after the greenfly have gone.


Greenfly on Chilli Flower

Greenfly on chilli flower

The above picture shows how they enjoy getting their beaks into the soft flesh of a flower, often the flowers and new shoots are the first parts of a plant to be attacked because they are the most tender and succulent. Once this flower opens they will get inside and feed of the reproductive parts of the plant and the tiny chilli before it has even developed. This results in scar tissue from where they pierced the flesh and the outcome is a chilli that is split, or misshaped. You can see this in the picture below.

Greenfly damaged Chilihuacle Negro Chilli

Greenfly damaged Chilihuacle Negro Chilli


Now the Chilhuacle Negro is an odd chilli anyway, the skin is always matt coloured and leathery, even when it is fully ripe (when it turns brown) and it is never smooth and round, but you can see here that secondary fruits have formed close to the calyx (where it joins the stem). On the right hand one these aren’t even closed, they are split open and you can see inside. Whilst still edible, this will probably start to rot before it ripens, and if you were a commercial farmer it certainly wouldn’t be of a quality that you could sell.

The answer to this problem is that as soon as you see evidence of greenfly, usually the feathery white skins on the leaves below, check your flowers. It is difficult to get at the greenfly inside and crush them without damaging the flowers, so you can use an organic spray, but I think it is best to nip off the flowers while they are young so the plant doesn’t waste its resources growing useless fruit. It will soon grow more flowers,usually they produce many more flowers than fruit anyway, and it ensures you get rid of your greenfly and leave the plant producing a healthy crop.

I have had more problems than usual with greenfly this year, but as documented in a previous blog, by far the worst affected have been the Chilhuacle Negros, these fruits must have come from the first flowers be hit, before I even saw them, and I have picked a few fruits like this now. You can never be too diligent!